| Feature | Details |
|---|---|
| Texture Type | Rain overlays, raindrop brushes, animated effect packs |
| Format | .abr, .png, .kra, .brushpack |
| Compatibility | Krita 4.0 and up (Windows, macOS, Linux) |
| Ideal For | Illustrators, concept artists, animators, hobbyists |
| Typical Usage | Atmospheric environments, story scenes, concept art |
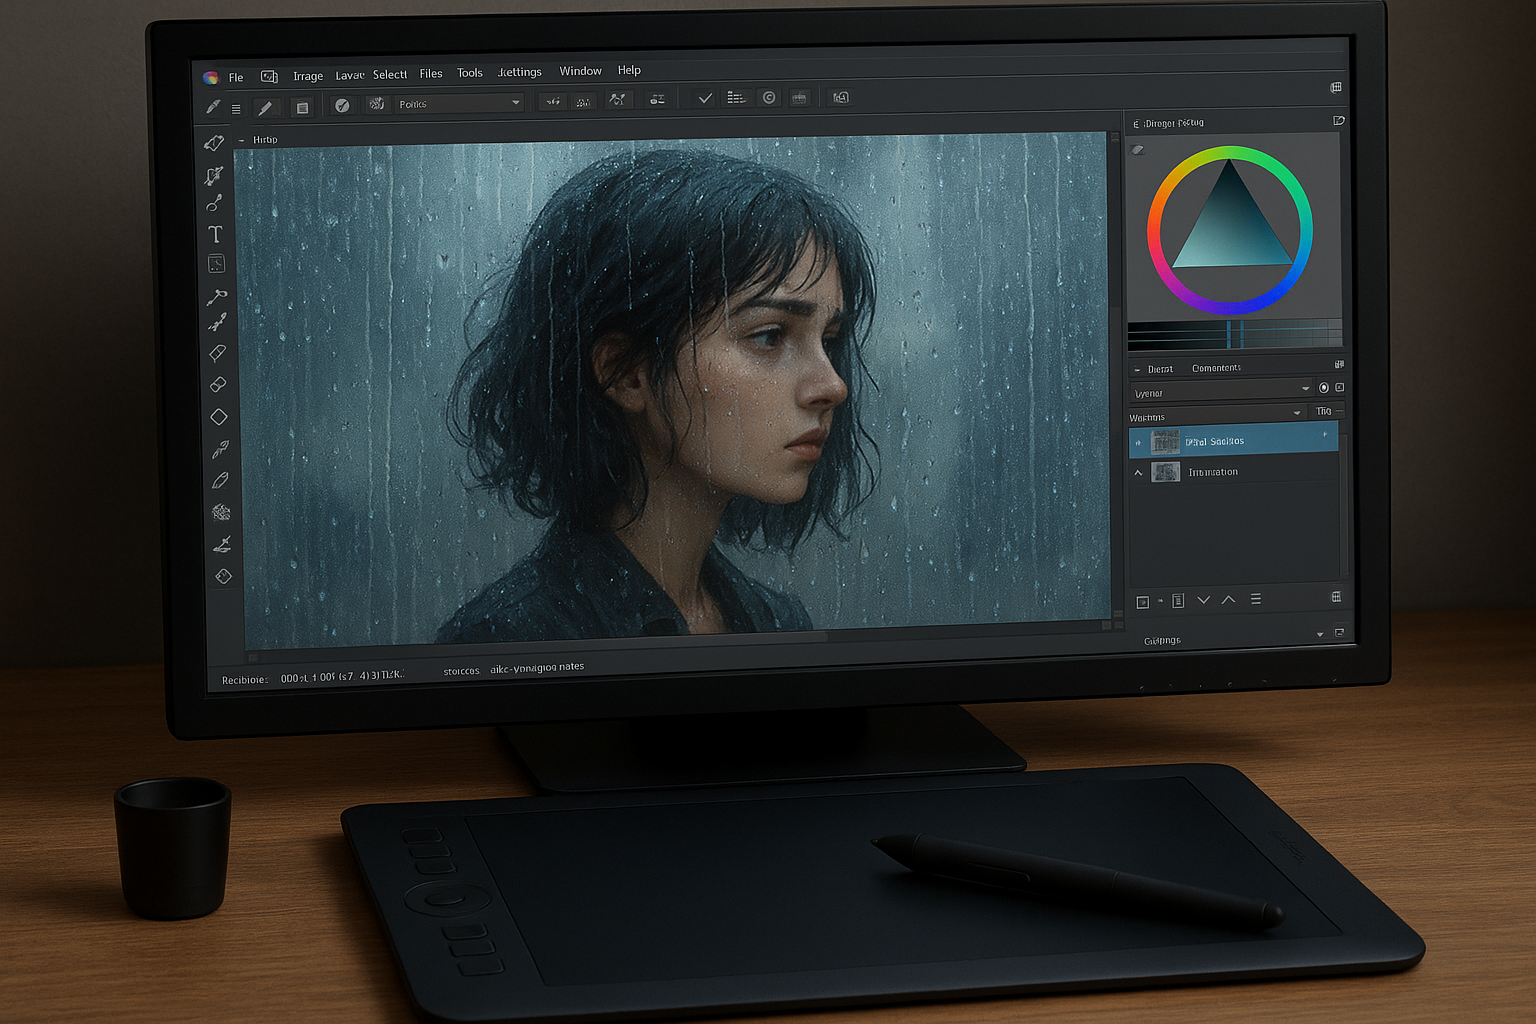
Rain Texture Essentials for Krita
Adding a rain texture in Krita brings mood, depth, and realism to digital paintings. Artists use rain overlays and specialized brushes to simulate everything from gentle drizzle to dramatic downpour. A quick glance at the available resources shows that many rain packs are fully compatible with Krita, appealing to everyone from beginners to advanced creators.
But with so many resources online, how do you choose the right rain textures or brushes? That’s where this article steps in, giving you practical downloads, step-by-step guides, and key tips to get started right away.
Download Rain Texture Packs for Krita
The main difference that stands out between various rain packs is the quality and realism of textures. Some look very similar to traditional Photoshop brushes, while others offer dynamic, adjustable layers made specifically for Krita’s engine.
Below are the best places for free and premium rain texture Krita packs:
- Krita-Artists.org Resources: Direct community-shared packs—often free to download with .brushpack or .png formats.
- DeviantArt & Gumroad: Extensive selection of realistic and stylized rain overlays, with instant download links.
- Envato Elements & Creative Market: Professional-grade, customizable rain textures, suitable for commercial use.
- GitHub open resources: Some developers release animated rain effects for Krita as open-source projects.
Always check the license before use, especially for commissioned or commercial artwork.
How to Import Textures & Brushes in Krita
Importing your new rain texture is easy, but a quick glance at user forums reveals common pitfalls. For most texture and brush packs, Krita offers a direct import workflow:
- Go to Settings > Manage Resources, click Import Bundles/Resources.
- Select your downloaded .bundle, .abr, or .brushpack file and confirm.
- Restart Krita for changes to take effect. The new brushes or textures should now appear in your brush or pattern docker.
If you’re importing .png overlays, simply drag and drop them onto your canvas, or add as a new layer.
Applying Rain Textures: Step-By-Step
Adding rain is more than just laying down a pattern. Artists aim for realistic integration with lighting, perspective, and scene mood. Here’s a practical step-by-step:
- Add a New Layer: Always apply rain texture on a separate layer for flexibility.
- Set Blend Mode: Try Overlay, Screen, or Soft Light for natural results.
- Mask & Erase: Use masks or erasers to fade rain in certain areas for more realism.
- Brush Details: Enhance with custom rain brushes for highlights or splashes.
- Adjust Opacity: Lower opacity for gentle mist or boost for heavy downpour.
Experimenting with multiple rain layers—foreground drops, mist, and distant streaks—offers the most lifelike effect.
Customizing Rain Effects
The real power of Krita’s system is in how customizable each rain texture becomes. With the right brush settings, you can change drop size, direction, and flow for perfect scene integration.
Try adjusting rotation jitter and scatter for more random, natural results. If you want animated rain, Krita’s Animation Workspace lets you move or mask rain layers frame-by-frame—ideal for GIFs or concept animatics.
Troubleshooting & Common Issues
Sometimes, rain textures can appear too flat or artificial, or simply fail to import. The most common issues include incorrect blend mode, mismatched file formats, or missing resource dependencies.
If your rain brush isn’t working, check that you’ve imported the correct file type and that your brush docker is refreshed. For PNG textures, ensure your layer isn’t set to multiply, which can make white raindrops disappear.
For persistent issues, restarting Krita and resetting the resource cache (via Settings > Manage Resources > Refresh Resources) usually resolves most hiccups.
FAQ: Rain Texture Krita
Where can I download the best rain texture packs for Krita?
The best packs are shared on Krita-Artists.org, DeviantArt, and specialized asset stores. Look for high-resolution and Krita-compatible file types for the smoothest workflow.
How do I make rain look realistic in Krita?
Combine different rain brushes, use multiple layers for depth, and blend with lighting. Adjust opacity and blur for background rain and highlight key drops in the foreground.
Are rain brushes for Krita free?
Many community packs are free, but premium rain textures offer advanced realism and are worth it for professional use. Always check the license before using in paid artwork.
Will these rain textures work with older Krita versions?
Most will work with Krita 4.0 and above. If not, try converting .abr to .brushpack using third-party tools or update to the latest Krita release.